Free Courtesy
Cars Available
Pick-up & Drop Off
Available in local areas
Public Transport
Nearby
12 Months/20,000
K`ms Warranty
Latest
Diagnostic Tools

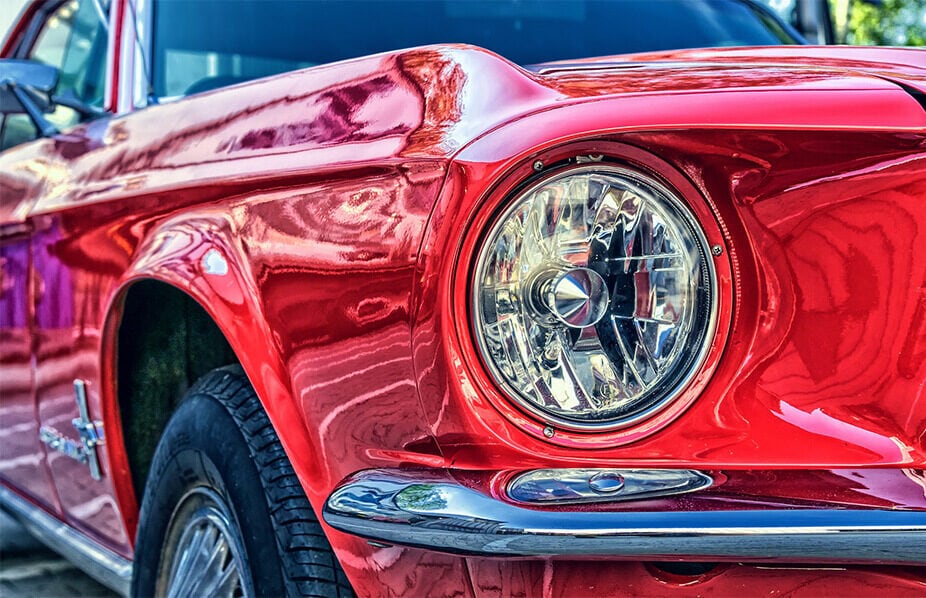
Pickards has a long and proud history in restoration, repairs and servicing of classic and vintage vehicles. For the Pickards team it is both a passion and pleasure to work on our customers pride and joy.
From supplying that hard to find part to full restoration, Pickards is your one stop shop. We pride ourselves in having the skills, knowledge and experience you expect when allowing someone to be involved with your special vehicle.
For any questions or enquiries on Audi, Volkswagen, Mercedes, Jaguar, Peugeot, Land Rover, Volvo & BMW Service please contact the team at Pickards Automotive.


Friendly, skilled workmanship and old school service. Not cheap, although great value and worth the price for the quality outcome. However, I would suggest they give cars a wash and quick vacuum prior to pickup. It’d turn their A grade service into A+ service. Recommended.
These guys are awesome. Know Landrover Defenders and really take care. Cheers Ben
David, went above and beyond getting my car a roadworthy certificate and servicing it so that she was ready to go through the registration process.